
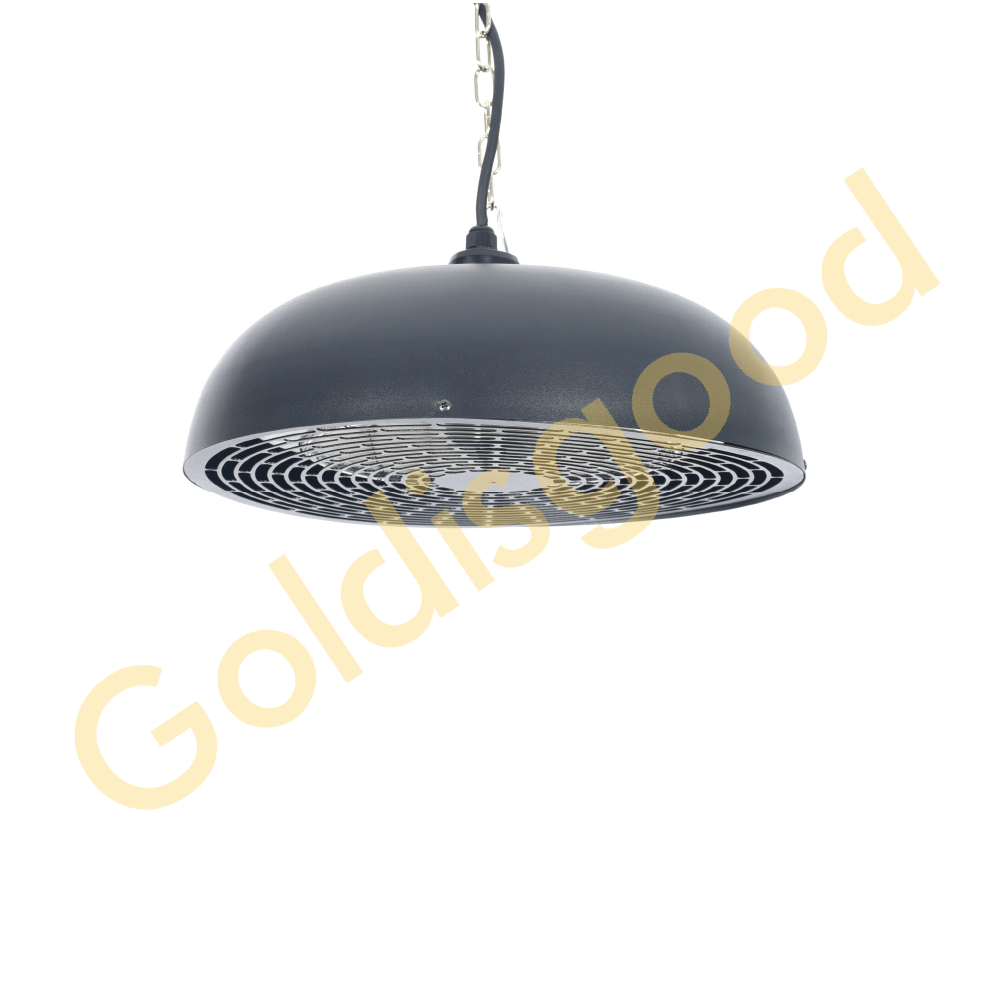
Keeping Your Bathroom IR Heaters from Becoming a Hazard
Putting infrared lamps in a bathroom is a bit of a gamble if you aren’t careful. You’ve got steam, splashes, and constant humidity. Mix that with electricity, and you’ve got a recipe for disaster. If you want a setup that actually hits an IP65 rating, you have to obsess over two things: how you seal the entry points and the quality of your insulation.
Getting the Insulation Right
Here’s the thing about water vapor—it finds a way into almost everything. Standard housings just aren’t enough. We use silicone gaskets and reinforced cable glands that really squeeze down around the wiring. It creates a physical wall that keeps the wet stuff out. Then there’s the lamp itself. The quartz glass has to be bonded to the end caps with high-temp ceramic adhesives. If that seal slips even a little, moisture hits the tungsten filament andpop—your lamp is dead instantly. Also, don’t even think about using standard wire. It’ll melt. We stick with heat-resistant PVC or silicone sheathing because it can handle 200°C without breaking down or shorting out against the chassis.
The Great Heat Struggle
Tight seals are a win for waterproofing, but they’re a nightmare for heat. When you wrap a heater in a sealed IP65 box, the air can’t move. The inside gets incredibly hot, fast. If you cram too many watts into that small space, you’ll either trip the thermal cutout or melt your own gaskets. Our trick? Under-spec the wattage by about 10-15% compared to what you’d use in an open-air room. It compensates for the “heat soak” and keeps the whole thing from cooking itself.
Real-World Setup
When it comes to the actual install, use a dedicated GFCI. Seriously. Even with the best IP65 gear, the places where you connect the wires are usually the weakest links. Make sure your grounding wire is bonded directly to the metal housing. That way, if something does go wrong, the current has a safe path straight to the earth instead of through you.